The 12 yoga asanas names most commonly taught as a foundational sequence come from the Sivananda tradition, one of the most widely referenced systems in modern yoga poses education: Headstand (Sirsasana), Shoulderstand (Sarvangasana), Plough (Halasana), Fish (Matsyasana), Sitting Forward Bend (Paschimottanasana), Cobra (Bhujangasana), Locust (Salabhasana), Bow (Dhanurasana), Half Spinal Twist (Ardha Matsyendrasana), Crow (Kakasana), Standing Forward Bend (Pada Hastasana), and Triangle (Trikonasana). Together, these twelve yoga asanas are sequenced to move the spine through every possible direction it can bend, twist, and extend, while balancing effort with relaxation. This guide breaks down each pose, why the order matters, and how to build them safely into a home or studio practice.
What Are the 12 Basic Yoga Asanas?
The 12 basic yoga asanas are a structured sequence popularized by the Sivananda school of yoga, designed to work the entire body in a logical progression. Rather than being 12 random yoga poses names strung together, the sequence is built on a simple principle: the spine should be bent forward, backward, sideways, and twisted, in that rotating pattern, with an inversion and a balance pose included for good measure. This is why the list always begins with an inversion (Headstand) and closes with a standing balance and stretch (Triangle). Each posture prepares the body for the next, so skipping steps or reordering them can reduce the sequence’s effectiveness and, in some cases, increase injury risk for beginners.
1. Headstand (Sirsasana): The King of Asanas
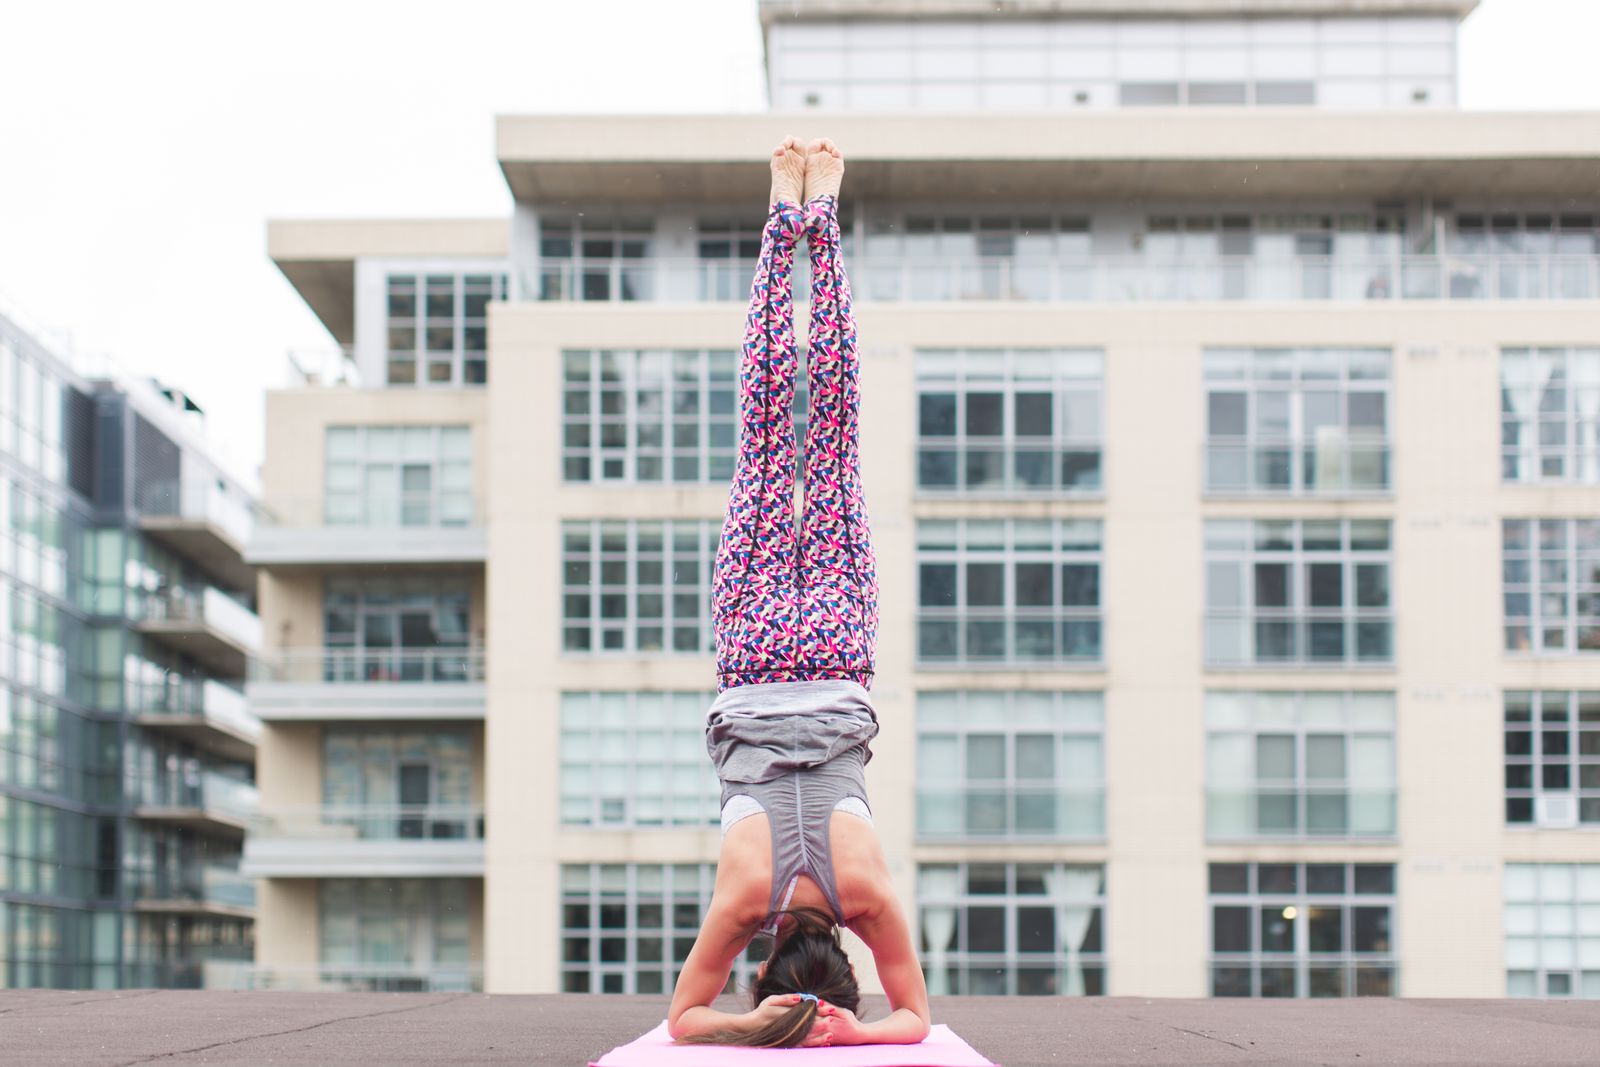
Sirsasana is traditionally placed first because it is considered the most energizing pose in the sequence, often called the “king of asanas” in Sivananda teaching materials. It’s practiced early, while the body and mind are fresh, since inversions demand concentration and stable shoulder and neck strength. Practitioners commonly cite improved circulation to the brain and scalp, better focus, and calm alertness afterward. Because it places weight through the crown of the head and cervical spine, it isn’t appropriate for beginners without supervision, and is generally avoided during pregnancy, with high blood pressure, neck injuries, or glaucoma. Many teachers substitute Dolphin Pose or a wall-supported version until strength and alignment are established. See this guide to yoga poses for how inversions fit into a complete practice.
2. Shoulderstand (Sarvangasana): The Counterpose
Sarvangasana literally means “pose of all parts,” reflecting the traditional belief that it benefits the entire body at once. It follows Headstand as a counterpose, continuing inverted blood flow while shifting weight onto the shoulders and upper back rather than the head. It’s commonly cited as supportive of thyroid and metabolic function because of the gentle chin-to-chest compression at the throat, and can help relieve tired legs and mild swelling. As with Headstand, people with neck issues, high blood pressure, or during menstruation are typically advised to modify or skip this pose. Folding a blanket under the shoulders, not the head, is a common adjustment to protect the cervical spine.
3. Plough Pose (Halasana): Deepening the Spinal Release
Halasana takes the body from Shoulderstand into a deep forward fold while still inverted, legs extending overhead toward the floor. The pose is prized for keeping the entire spine supple, since it stretches the muscles along the full length of the back at once, and it continues the calming quality of the inversions before it. Beginners often can’t yet touch their toes to the floor behind their head, which is completely normal; resting the feet on a block or chair achieves a similar stretch without forcing it. This pose pairs naturally with other seated forward folds explored in yoga for back pain routines.
4. Fish Pose (Matsyasana): The Balancing Backbend
After three poses that round and compress the front of the neck and chest, Matsyasana opens everything back up. It arches the upper back, lifts the chest, and extends the neck, acting as a direct counterpose to the inversions before it. It’s commonly associated with easier breathing, since the rib cage expands fully in the position, and with correcting the forward-head, rounded-shoulder posture common from desk work. Because it’s a backbend, anyone with lower back sensitivity should keep the arch gentle and support the shoulders rather than dropping the head heavily to the floor.
5. Sitting Forward Bend (Paschimottanasana): The Digestive Reset
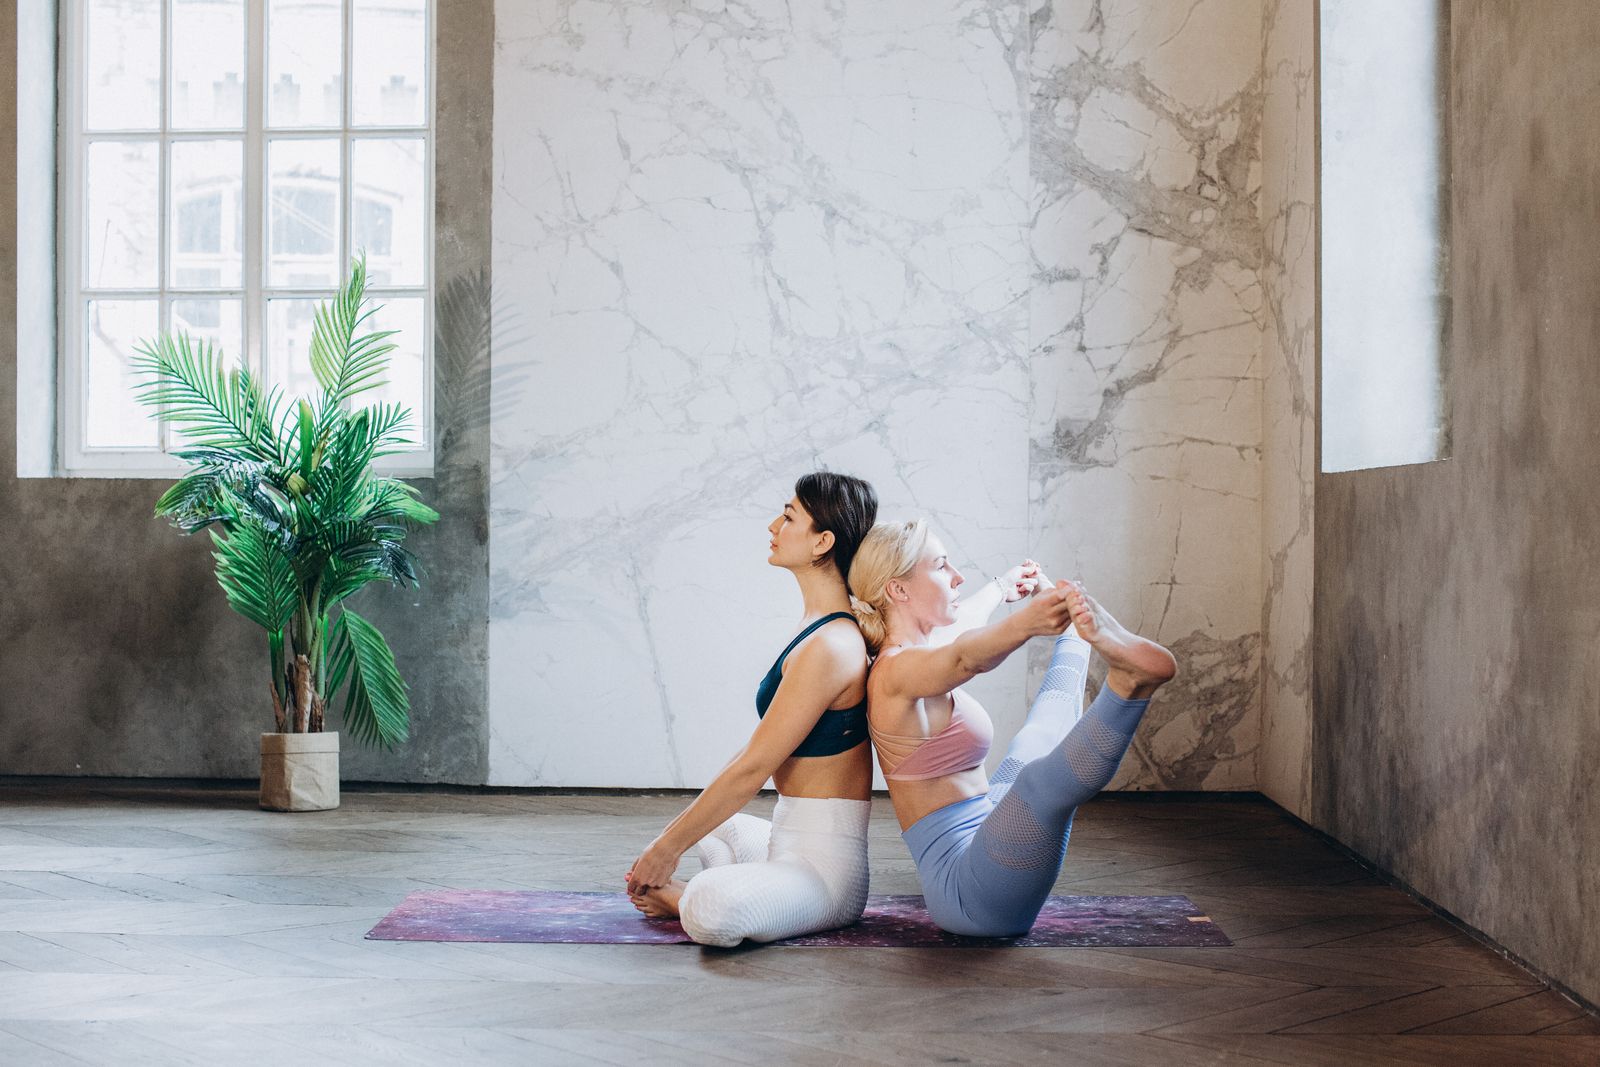
Paschimottanasana, the seated forward bend, is one of the most recognizable of the 12 yoga asanas and is often the first pose newer students master. Folding forward over extended legs compresses and then releases the abdominal organs as the practitioner breathes, which is why it’s frequently described as toning the digestive system. It also lengthens the hamstrings and lower back, two areas that tend to be chronically tight from sitting. A slight bend in the knees is a perfectly acceptable modification if the hamstrings are tight; the goal is a long spine, not a flat torso against the legs. This pose connects naturally to broader routines built around yoga for flexibility.
6. Cobra Pose (Bhujangasana): The First Backbend
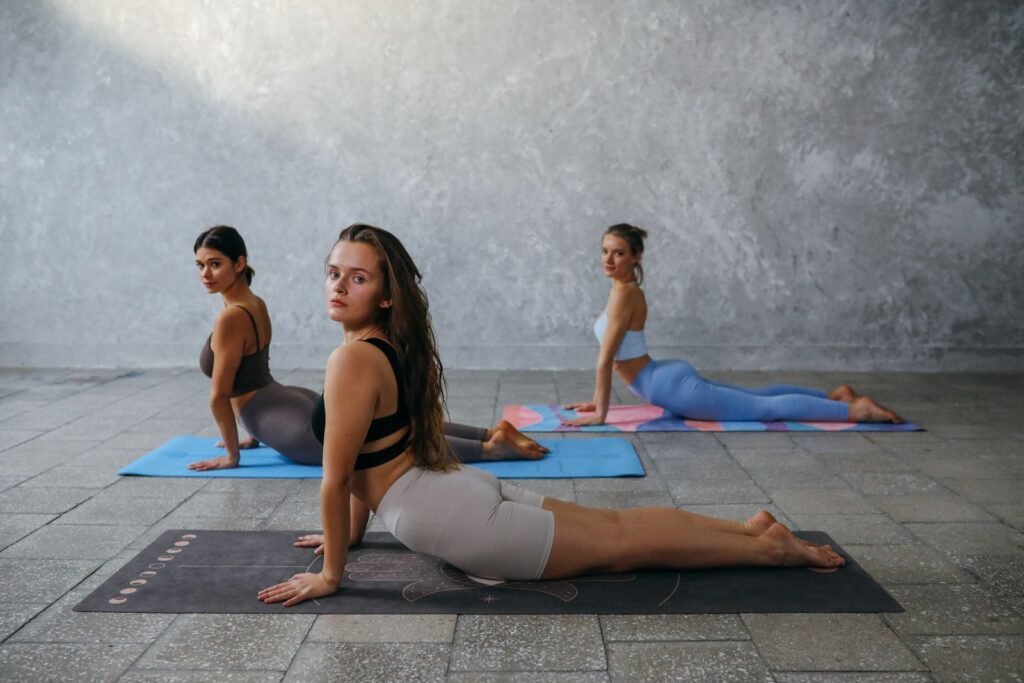
Bhujangasana introduces backbending gently, using the strength of the back muscles rather than the arms to lift the chest. It builds spinal flexibility gradually and strengthens the muscles that support upright posture throughout the day. Because the pose engages the whole posterior chain without loading the wrists heavily, it is often recommended as an accessible entry point to backbending for people newer to hatha yoga or gentle vinyasa styles. Keeping the elbows slightly bent and close to the ribs, rather than locking them straight, protects the lower back from overextension.
7. Locust Pose (Salabhasana): Strengthening Without Support
Salabhasana raises the difficulty by removing the hands from the equation entirely; the chest, arms, and legs lift using only the strength of the back and glutes. This makes it one of the more demanding poses in the sequence for the posterior chain, particularly the lower back and hamstrings. It is commonly used to build the strength needed for more advanced backbends like Bow and full Wheel poses later in a practice. Because there is no support from the arms, it is a useful pose for identifying and correcting weakness in the lower back before attempting deeper extensions.
8. Bow Pose (Dhanurasana): Combining Strength and Flexibility
Dhanurasana combines the backbend of Cobra with the leg strength of Locust, using the hands to hold the ankles and rock the body into a bow shape. It develops flexibility through the entire front line of the body, from the shoulders and chest down through the hip flexors and quadriceps. Because it compresses the lower back more than the previous poses, it is typically the last of the major backbends in the sequence, giving the body a natural peak before moving into counterposes. People with recent abdominal surgery, hernia, or significant lower back injury are usually advised to avoid or modify this pose with a strap or by lifting one leg at a time.
9. Half Spinal Twist (Ardha Matsyendrasana): Resetting the Spine
After a string of forward folds and backbends, Ardha Matsyendrasana introduces rotation, the one plane of spinal movement not yet addressed. Twists are commonly described as relieving lower back tightness and improving spinal mobility by moving the vertebrae in a direction they rarely go during daily activities like walking or sitting. The pose also compresses and then releases the abdominal organs on each side in turn, similar in effect to the forward folds but from a different angle. Twisting from the base of the spine upward, rather than yanking from the shoulders, keeps the movement safe and effective.
10. Crow Pose (Kakasana): The Arm Balance Challenge
Kakasana shifts the sequence toward arm strength and balance, requiring the practitioner to support the entire body weight on the hands while the knees rest against the upper arms. It is frequently used to build the concentration, core engagement, and confidence needed for more advanced arm balances found in vinyasa yoga and power yoga classes. Falling forward onto a cushioned mat is part of the learning process for most students, so practicing near a bolster or soft surface removes the fear that often blocks progress. Engaging the core and rounding the upper back slightly, rather than trying to muscle the position with the arms alone, makes the pose far more achievable.
11. Standing Forward Bend (Pada Hastasana): Grounding After Inversion
Pada Hastasana returns the practitioner to standing, folding forward with the hands tucked under the feet. It offers many of the same benefits as the seated forward bend, but from a standing position that also stretches the calves and challenges balance. This pose is often cited as calming for the nervous system, since forward folds in general encourage a shift toward rest-and-relax physiology. It also acts as a transitional pose, grounding the body after the arm-balance intensity of Crow before the final standing pose of the sequence.
12. Triangle Pose (Trikonasana): Closing the Sequence
Trikonasana closes the traditional 12-asana sequence with a full-body standing stretch that combines a lateral bend with hip and hamstring opening. It’s commonly associated with toning the muscles along the sides of the torso and improving hip flexibility, while also requiring balance and steady breathing to hold well. As the final pose, it brings the practitioner back to an upright, wide-legged stance, symbolically and physically completing the journey from inversion through backbend, twist, and balance. Many teachers pair Trikonasana with a short seated meditation afterward to let the nervous system settle before ending class, a practice rooted in broader yoga philosophy around integration.
How Do the 12 Yoga Asanas by Ramdev Differ?
Alongside the classical Sivananda sequence, Indian yoga teacher Swami Ramdev has popularized his own sets of 12 yogasanas through televised sessions, often adapted for specific goals such as weight management or general fitness. These sequences draw on many of the same foundational postures, forward bends, twists, and backbends, but the exact pose selection and order can vary between sessions depending on the stated goal of the class. The table below summarizes the key differences.
| Aspect | Sivananda 12 Asanas | Ramdev’s 12 Yogasanas |
|---|---|---|
| Pose order | Fixed, classical sequence | Varies by session and stated goal |
| Pace | Slow, hold-and-release | Brisk, breath-linked repetition |
| Primary goal | Complete, balanced workout for the spine and major muscle groups | Often targeted, e.g. weight management or general fitness |
Both share the same underlying goal: a complete, balanced sequence for the body in one short practice.
What Order Should Beginners Practice These Asanas In, and How Long Should Each Be Held?
The traditional order, Headstand through Triangle, is designed as a complete unit, but complete beginners rarely start with the full sequence exactly as written. A common modification is to substitute a gentler inversion, like Legs-Up-The-Wall pose, for Headstand until neck and shoulder strength develop, and to hold Shoulderstand for fewer breaths initially. It’s also standard practice to add a few rounds of sun salutations beforehand as a warm-up, since the sequence assumes a body that’s already somewhat warm rather than starting cold. On hold times, each asana is typically held for a number of slow, steady breaths rather than timed by the clock, commonly somewhere between 30 seconds and two minutes depending on experience and the specific pose; inversions are built up gradually over weeks, while backbends like Cobra and Bow are often held for shorter durations since the muscular effort is more intense. Listening to the breath is the most reliable guide: if breathing becomes ragged, that’s a signal to ease out rather than push further. Working with a qualified teacher, at least for the inversions, is the safest way to build this sequence from the start.
What Are the Health Benefits of Practicing All 12 Poses Together?
Practicing the 12 asanas as a complete sequence, rather than picking a few favorites, is commonly associated with more balanced results because the poses are designed to complement each other’s effects. The inversions at the start support circulation and mental clarity, the backbends counter the effects of prolonged sitting, the twist resets the spine laterally, and the standing poses at the end rebuild strength and balance in the legs. This full-spectrum movement is a core idea across styles covered in benefits of yoga and yoga for weight loss, both of which point to consistency and variety as more important than any single pose in isolation. Students working on posture often emphasize Cobra, Fish, and Triangle, while those exploring yoga for stress relief tend to slow the whole sequence down and hold each pose longer with deeper breathing.
What Equipment Do You Need to Practice These Asanas?
Very little equipment is required to begin, though a few simple props make the sequence more comfortable and accessible while strength and flexibility are still developing:
- Non-slip yoga mat — the essential item, since several of these poses involve pressure on the head, shoulders, or hands, and a good mat prevents slipping.
- Folded blanket — protects the neck under the shoulders during Shoulderstand and Plough.
- Block or strap — helps beginners in Bow, Standing Forward Bend, and the seated forward bend before full flexibility develops.
- Wall — useful for practicing Headstand safely against support, and for Legs-Up-The-Wall as an easier substitute inversion.
None of these props are mandatory forever; they exist to make the poses accessible while strength and flexibility are still developing.
Who Should Avoid Certain Poses in This Sequence?
Not every pose in the 12-asana sequence is appropriate for every body, and knowing when to modify is part of practicing safely. Pregnant practitioners are generally advised to avoid Headstand, Shoulderstand, Plough, and deep abdominal-compression poses like the seated forward bend and Bow, and should consult a qualified prenatal yoga teacher for safe substitutes. People with high blood pressure, glaucoma, or retinal conditions are typically cautioned against sustained inversions, and anyone with a herniated disc, recent spinal surgery, or acute lower back pain should approach the backbends and Locust pose carefully, ideally with a teacher experienced in yoga for back pain. When in doubt, a conversation with a doctor or physical therapist before starting is always the safer route.
How Do These 12 Asanas Fit Into Different Styles of Yoga?
The 12 basic asanas originate specifically from the Sivananda lineage, but the individual poses themselves appear across nearly every style of yoga practiced today. In hatha yoga, they typically appear as standalone, held postures much like the original sequence. In vinyasa yoga, several of these poses, particularly Cobra, Triangle, and the forward bends, are woven into flowing sequences linked by breath, while Ashtanga yoga includes variations of many of them within its fixed primary series and power yoga often speeds up the transitions between them. Recognizing these 12 asanas gives students a useful reference point no matter which style of class they eventually choose to practice.
Questions People Ask About the 12 Yoga Asanas
What are the 12 basic yoga asanas in order?
In the Sivananda sequence, the order is Headstand, Shoulderstand, Plough, Fish, Sitting Forward Bend, Cobra, Locust, Bow, Half Spinal Twist, Crow, Standing Forward Bend, and Triangle. The order matters because it moves the spine through inversion, forward bending, backbending, twisting, and balance in a deliberate progression rather than at random.
Are the 12 yoga asanas suitable for beginners?
Several poses, like Cobra, Triangle, and the seated forward bend, are beginner-friendly, but Headstand, Shoulderstand, and Crow are more advanced and typically need modification or supervision at first. Most teachers recommend learning the sequence gradually, substituting gentler versions of the harder poses until strength and confidence build up over weeks or months of consistent practice.
How long does it take to complete the full 12-asana sequence?
A gentle full round of the 12 asanas, held for a comfortable number of breaths each, typically takes between 20 and 40 minutes depending on pace and experience. Beginners often spend longer on transitions and rest between poses, while experienced practitioners may move through it more efficiently while still holding each pose fully.
Can I practice the 12 yoga asanas every day?
Yes, many practitioners use this sequence as a daily routine since it’s designed to be a complete, balanced practice on its own. On days when the body feels fatigued or sore, it’s reasonable to shorten hold times or skip the more demanding poses like Headstand and Crow while still moving through the rest of the sequence gently.
What is the difference between the Sivananda 12 asanas and Baba Ramdev’s 12 asanas?
The Sivananda 12 basic asanas are a fixed, classical sequence taught with slow holds and specific spinal-movement logic. Swami Ramdev’s televised 12 yogasanas sessions often adapt pose selection to a stated goal, such as weight loss, and tend to move at a brisker pace with more repetition, making the two approaches related but not identical in structure or pacing.
Do I need to do all 12 asanas, or can I pick a few?
You can absolutely practice individual poses on their own, and many people do, especially when short on time. However, the full sequence is specifically designed so each pose complements and counterbalances the ones before it, so practicing all 12 together is generally considered more well-rounded than isolating just a few favorites.
Try This for Yourself
Reading about the 12 yoga asanas names is a useful starting point, but the real benefits come from practicing them consistently with proper alignment and guidance. If you’d like a structured, teacher-led way to build this sequence safely into your week, explore FitStrot’s online yoga classes, where certified instructors can walk you through each pose, correct your form in real time, and adapt the sequence to your body and goals.
Related reading: yoga poses, yoga asanas, yoga poses names, benefits of yoga, and FitStrot’s online yoga classes.