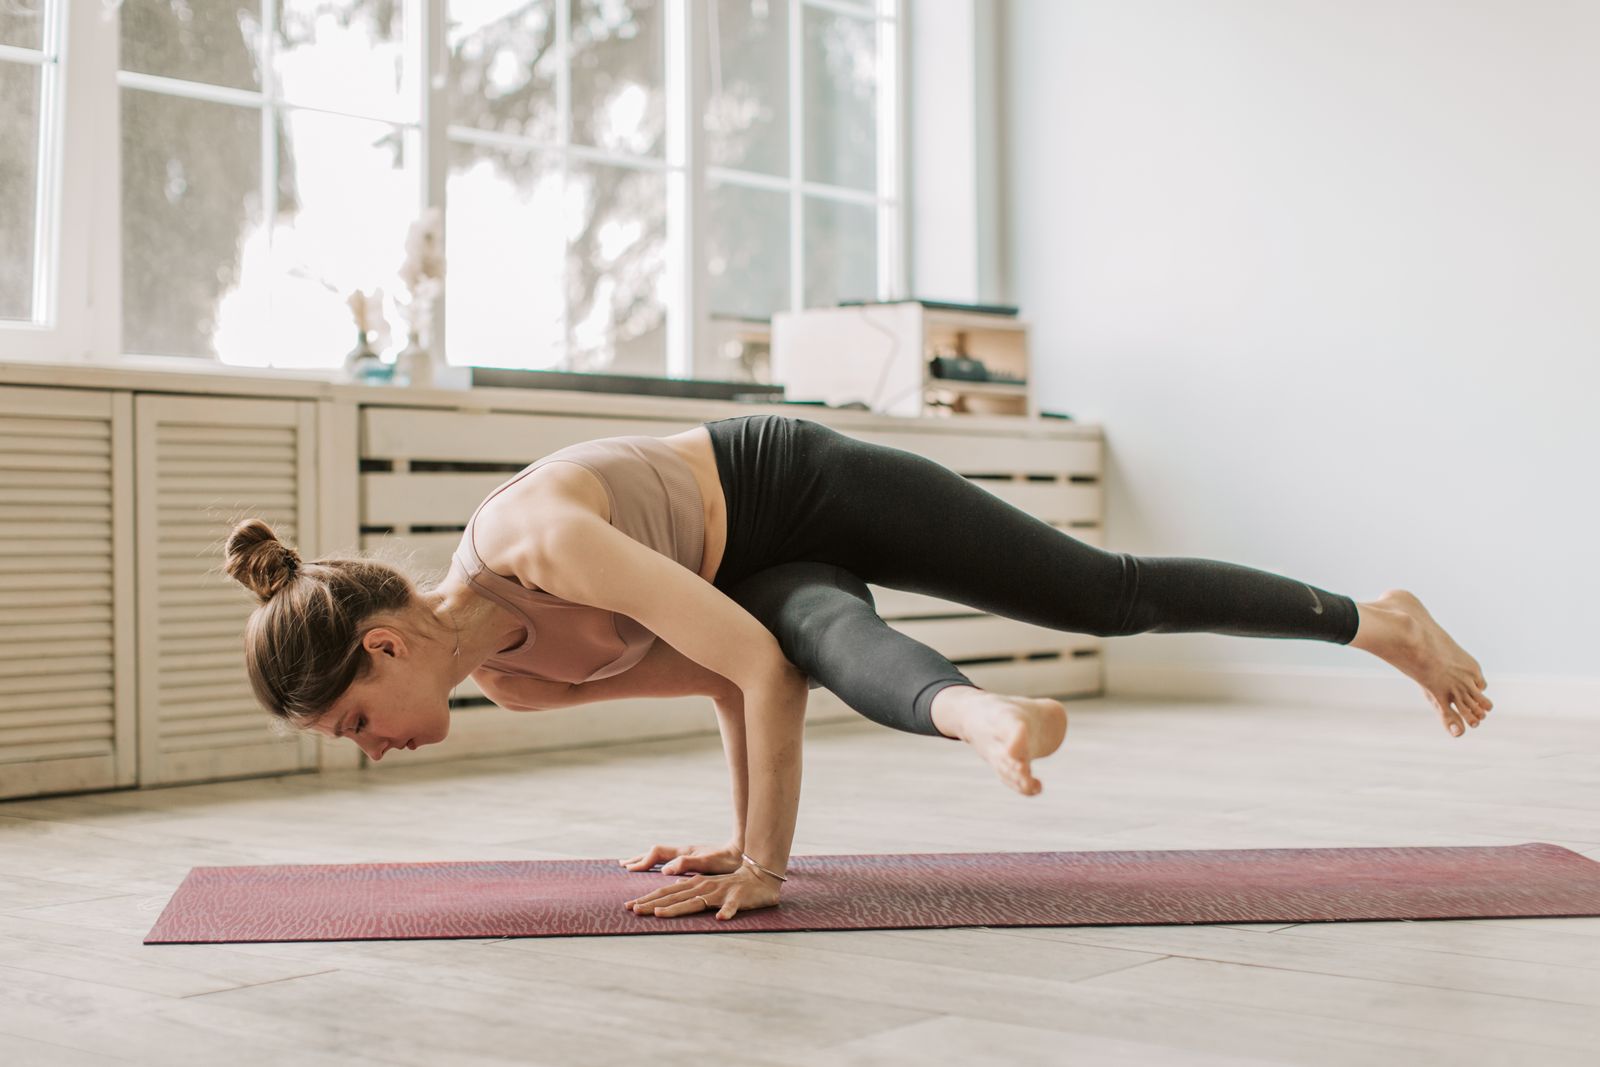
Mayurasana, or Peacock Pose, is an advanced arm-balancing posture in which the entire body is held parallel to the floor while balancing only on the palms, with the elbows pressed into the abdomen just below the navel. The name comes from the Sanskrit “mayura” (peacock) and “asana” (pose), a reference to the way the raised legs and lifted torso echo a peacock’s fanned tail. It builds serious core, wrist, and forearm strength, and in yogic tradition it is closely associated with stimulating digestion and the navel-centered Manipura chakra. It is not a pose for absolute beginners, but with the right preparation almost anyone with healthy wrists can work toward it.
What Does Mayurasana Mean in Yoga?
In Sanskrit, “mayura” translates directly to peacock, and this asana asks the practitioner to mimic the bird’s poised, chest-forward stance. Unlike balances that rest weight on the legs or hips, mayurasana is unusual because the entire body weight rests on the wrists and forearms while the elbows dig into the soft tissue near the navel, acting as a fulcrum. This is why the pose sits in the “arm balance” family alongside poses like bakasana (crow pose) but is considered more demanding because of the horizontal, plank-like final shape. If you search for mayurasana yoga tutorials, you’ll notice most teachers classify it as an intermediate-to-advanced posture, usually introduced only after a practitioner is comfortable with foundational arm-support work.
How Do You Perform Mayurasana Step by Step?
Approach the pose slowly and only after warming up the wrists, shoulders, and core. Here is the standard sequence:
- Kneel on your mat with knees apart and sit back slightly, similar to the base of many kneeling yoga poses.
- Place both palms flat on the floor between your knees, fingers pointing back toward your body (toward your feet), close enough together that your thumbs and index fingers touch.
- Bend your elbows and tuck them snugly into your abdomen, just below the navel, keeping your forearms close together.
- Lean your torso forward over your hands, shifting weight into your palms until you feel your feet grow light.
- Straighten one leg back, then the other, until both legs extend fully behind you, parallel to the floor.
- Keep your head neutral or slightly lifted, gaze forward, and hold the horizontal balance for a few breaths.
- Lower down with control, bending the knees and returning to the starting kneeling position.
Beginners often hold the final shape for only 5-10 seconds. That is completely normal. The goal in early practice is control on the way in and out, not duration.
What Muscles Does Mayurasana Strengthen?
Mayurasana is primarily an upper-body and core strengthening pose. The wrists and forearms bear the full weight of the body, building forearm flexor and extensor strength that carries over into other arm balances such as bakasana or astavakrasana. The triceps and shoulders stabilize the horizontal hold, while the deep abdominal muscles, particularly the transverse abdominis, contract hard to keep the torso and legs lifted in one straight line. The lower back and glutes also engage isometrically to prevent the legs from dropping. Because so many muscle groups fire simultaneously, even a short daily hold is a genuinely efficient strength-building exercise compared with isolated core work covered in our guide to core-strengthening yoga poses.
What Are the Health Benefits of Mayurasana?
Traditional yogic texts and modern teachers both point to a cluster of benefits tied to this pose:
- Digestive stimulation: The elbow pressure directly on the abdomen, near the navel, is commonly cited as aiding digestion by compressing and massaging the stomach, liver, and intestines. Some teachers describe this as stoking the body’s “digestive fire.”
- Core and upper-body strength: Regular practice visibly strengthens the wrists, forearms, shoulders, and deep core stabilizers, making it a useful cross-training pose for athletes and other yoga practitioners alike.
- Improved focus and balance: Like most arm balances, mayurasana demands total concentration. Wobbling breaks the pose instantly, which trains the nervous system to stay present, a benefit shared with poses like vrksasana (tree pose).
- Confidence and mental resilience: Successfully holding an intimidating-looking pose, even briefly, is often described by students as a meaningful confidence builder, since it requires patience across many practice sessions rather than a single lucky attempt.
- Energetic benefits: In yogic philosophy, mayurasana is associated with activating the Manipura (navel) chakra, linked to willpower, self-esteem, and personal transformation. This is a traditional, philosophical claim rather than a clinically measured one, but it is a common part of how the pose is taught in Hatha yoga lineages.
What Poses Should You Master Before Attempting Mayurasana?
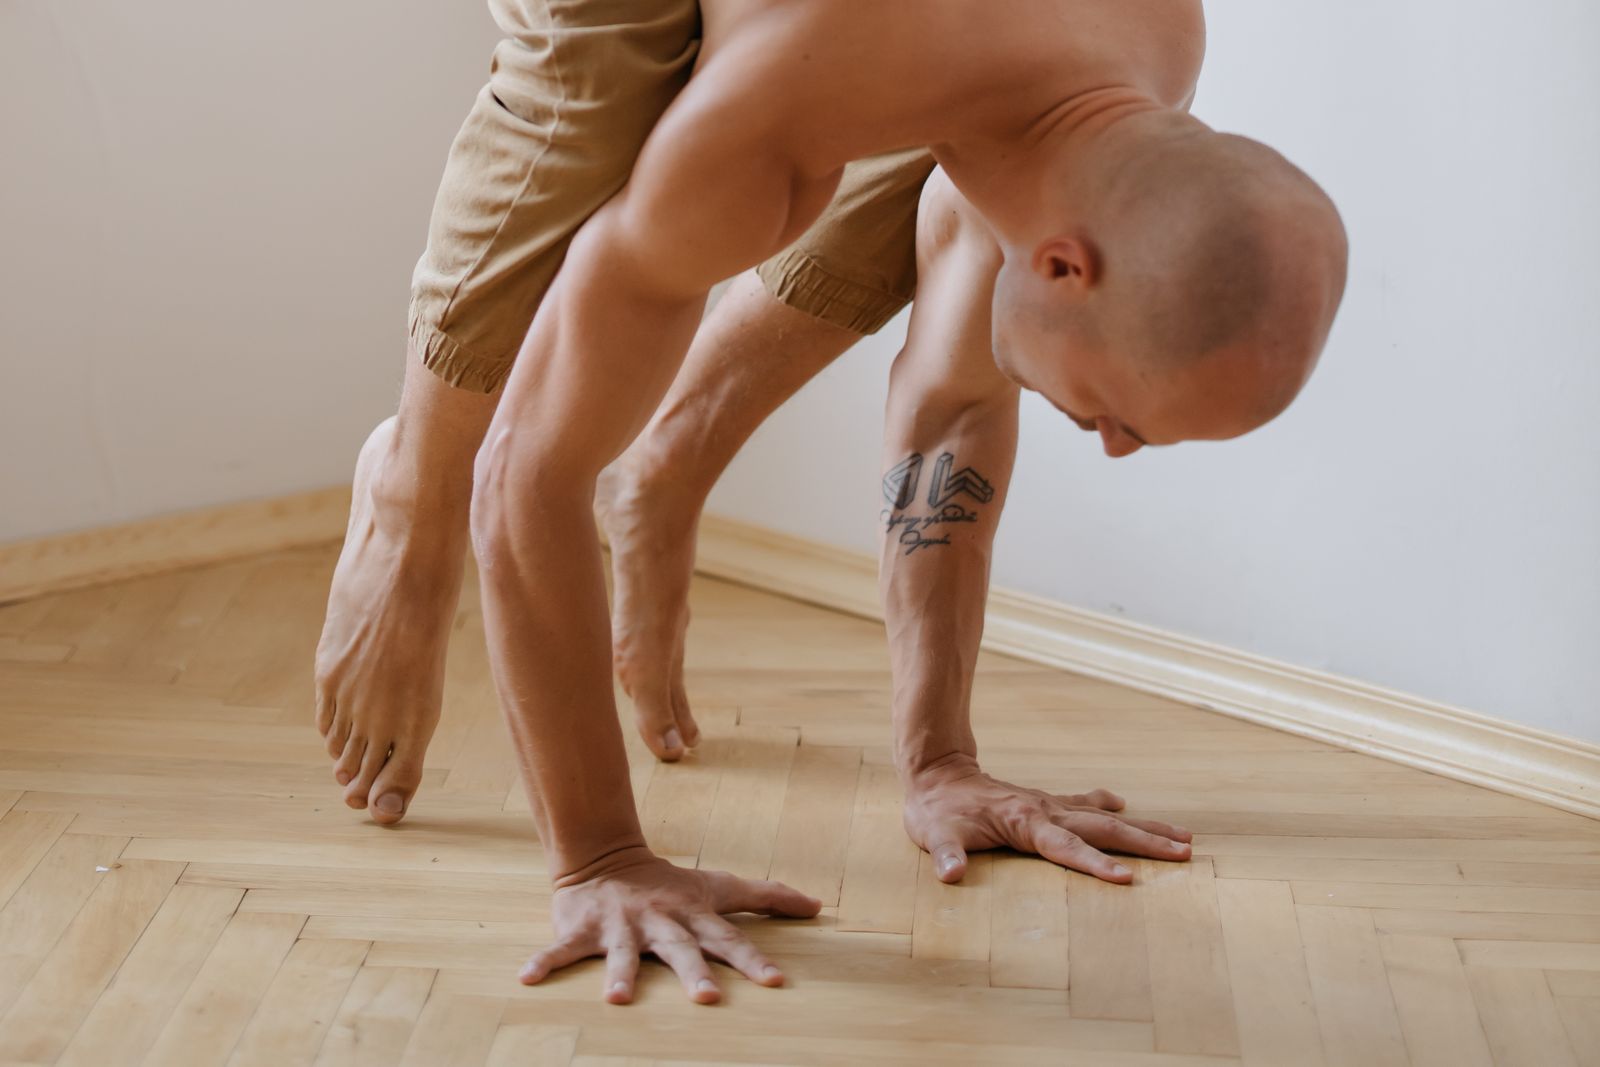
Because mayurasana asks so much of the wrists and core at once, most teachers recommend building a preparatory foundation first. A sensible progression includes plank pose and its variations for shoulder and core stability, chaturanga dandasana (four-limbed staff pose) to condition the elbows for a bent-arm hold, and bakasana (crow pose) to practice shifting body weight fully into the hands. Wrist-strengthening drills, such as walking the fingers wide and rocking gently forward and back in a tabletop position, also help. A strong standing practice built on poses like tadasana improves overall postural awareness, which indirectly supports the alignment needed once you’re inverted and horizontal. Building general flexibility through online yoga sessions before attempting advanced arm balances is also a smart, low-risk way to prepare.
What Are the Variations of Mayurasana?
Once the base pose feels stable, there are recognized variations that increase or adjust the challenge. Padma Mayurasana (Lotus Peacock Pose) has the practitioner cross the legs into padmasana (lotus position) before lifting into the balance, which shifts the center of gravity and reduces the leverage advantage of long, straight legs. Pincha Mayurasana blends elements of forearm balance work with the peacock shape for those exploring inversions more broadly. Eka Hasta Mayurasana, a rare one-arm variation practiced by very advanced students, removes one point of support entirely. Beginners should not attempt these variations until the standard two-armed, straight-leg version is fully stable for at least 20-30 seconds.
Who Should Avoid Mayurasana?
This pose places significant pressure on the wrists, elbows, and abdominal organs, so it is not appropriate for everyone. It’s generally advised to avoid or modify the pose if you are pregnant (see our guide to prenatal yoga for safer alternatives), currently menstruating, recovering from abdominal or wrist surgery, or living with a hernia. People with wrist injuries, elbow arthritis, carpal tunnel syndrome, high blood pressure, glaucoma, vertigo, or migraines are also commonly advised to skip it or practice only under close supervision from an experienced teacher. If you have any underlying health condition, checking with a doctor before attempting an intense abdominal-compression pose like this one is a reasonable precaution, and reviewing general yoga safety tips is a good habit before trying any advanced posture.
What Are Common Mistakes in Mayurasana?
Most struggles with this pose come down to a handful of repeated errors. Placing the elbows too high on the ribs instead of just below the navel removes the leverage point the pose depends on. Spreading the hands too wide reduces stability, since the fingers and thumbs should nearly touch to create a solid base. Rushing to lift both legs at once before finding the balance point often causes a face-first tip forward; lifting one leg at a time first is safer and more effective. Holding the breath is another common issue, since tension in the chest makes the core work harder than necessary. Finally, skipping the warm-up sequence and attempting the pose cold significantly raises the risk of wrist or elbow strain.
How Does Mayurasana Compare to Other Arm Balances?
Compared with bakasana (crow pose), which keeps the body more compact and vertical, mayurasana requires extending the body into a long horizontal line, which demands more core endurance and a different kind of shoulder stability. Compared with adho mukha vrksasana (handstand), mayurasana keeps the head much closer to the floor, reducing the inversion-related risks but increasing the load on the wrists and elbows specifically. It shares more in common with forearm-based balances in terms of the “lever” principle: the further your body extends from your point of support, the harder your core must work to prevent tipping. Understanding this physics helps explain why even strong practitioners of standing sequences like surya namaskar sometimes find mayurasana humbling on their first attempts. If you’re building toward advanced arm balances generally, our roundup of hatha yoga poses is a useful companion resource.
How Often Should You Practice Mayurasana?
For most practitioners working toward the full pose, 3-4 sessions per week focused on preparatory strength work (plank holds, wrist conditioning, core activation) is a reasonable starting cadence, with attempts at the full pose itself limited to when the wrists and shoulders feel fresh, not fatigued from other training. Once the pose is stable, many teachers suggest holding it for 15-30 seconds, 1-2 times per practice session, rather than repeating many short attempts, since quality of alignment matters more than repetition count in an arm balance like this one.
What Is the Best Time to Practice Mayurasana?
Mayurasana, along with other digestion-focused poses, is traditionally recommended to be practiced on an empty stomach, ideally in the morning before breakfast or at least 3-4 hours after a meal. Because the pose compresses the abdomen directly, practicing it with a full stomach is uncomfortable at best and can cause nausea. Morning practice also tends to pair well with the joint mobility built up through a preceding warm-up flow, since muscles and connective tissue respond better to load once they’re not stiff from sleep.
Questions People Ask About Mayurasana
Is Mayurasana good for beginners?
Mayurasana is generally considered an intermediate-to-advanced pose and is not typically recommended for absolute beginners. It requires baseline wrist, forearm, and core strength that most new practitioners haven’t yet developed. Beginners are better served building toward it gradually through plank pose, chaturanga, and simpler arm balances like bakasana before attempting the full peacock pose.
What does Mayurasana mean in Hindi?
In Hindi and Sanskrit, “mayur” or “mayura” means peacock, so mayurasana yoga in hindi contexts is simply referred to as “mor asana” or “mayur asana,” both translating to Peacock Pose in English. The name reflects the pose’s visual resemblance to a peacock’s poised, forward-leaning stance with its tail feathers extended.
How long should you hold Mayurasana?
Beginners typically hold the pose for 5-15 seconds while building stability, while more experienced practitioners may extend the hold to 30-60 seconds or longer. There’s no strict requirement; consistent, controlled short holds with good form are more valuable than straining to hold longer than your current strength safely allows.
Can Mayurasana help with weight loss?
Mayurasana engages the core, shoulders, and forearms intensely, which can contribute to muscle toning and calorie expenditure as part of a broader fitness routine. However, no single pose produces significant weight loss on its own; it works best as one component of a well-rounded practice that includes cardiovascular movement like surya namaskar and attention to overall diet and activity levels.
Why is it called Peacock Pose?
The pose is named for its resemblance to a peacock’s stance, with the body’s raised, extended shape mirroring the bird’s poised posture and fanned tail. This naming convention is common across yoga asanas, many of which (like tree pose) draw their names from animals, plants, or objects in nature that the final shape resembles.
Do I need strong wrists before trying Mayurasana?
Yes, wrist strength and mobility are essential prerequisites for this pose, since the entire body weight transfers through the palms and wrists. Gentle wrist-strengthening exercises, gradual load-bearing practice in poses like plank, and proper warm-up before every attempt significantly reduce the risk of strain or injury.
Try This for Yourself
Reading about mayurasana is a useful starting point, but building the strength and balance it requires happens through consistent, guided practice. If you’d like personalized feedback on your alignment, progressions tailored to your current strength, and a safe path toward advanced arm balances, join a live session with a certified instructor through FitStrot’s online yoga classes and get real-time corrections as you build toward the full pose.
Related reading: Explore more foundational and advanced postures in our complete guide to yoga poses, learn the full sequence behind surya namaskar, build standing-pose alignment with tadasana, and strengthen your balance foundation with vrksasana. When you’re ready for live, personalized guidance, book a class through FitStrot’s online yoga classes.