A hip thrust workout is a training session built around the barbell hip thrust as the primary movement, paired with glute bridge variations and 2-3 complementary lower body exercises to build hip extension strength, glute size, and better power output for squats, sprints, and deadlifts. At FitStrot, we program it as a dedicated glute-focused session rather than an afterthought tacked onto leg day, because the hip thrust deserves that kind of attention when you’re trying to build real strength in the glutes.
Why Does the Hip Thrust Matter So Much for Glute Training?
The hip thrust puts the glutes under load at their point of peak contraction, which is something squats and lunges don’t do nearly as well. When you squat, the glutes work hardest near the bottom of the range and the load tapers off as you stand up. With a hip thrust, the resistance stays high right at lockout, where the glutes are shortest and working the hardest to extend the hip. That’s the whole reason we lean on it so heavily with clients who want visible glute development or who need more posterior chain strength for sport.
It also carries over well to athletic movement. Sprinting, jumping, and change of direction all rely on rapid hip extension, and the hip thrust trains that pattern directly under load, without asking the lower back or quads to bail you out. We program it for runners, footballers, and general strength clients alike, just with different loading and rep schemes depending on the goal, often alongside rotational core work like a woodchopper workout to round out hip and trunk power together.
How Do You Set Up a Barbell Hip Thrust Correctly?
Here’s how to set up and execute the movement correctly:
- Sit on the floor with your upper back against a bench, roughly at shoulder blade height.
- Roll a loaded barbell over your hips, use a pad if you have one because bare bar on the hip crease is not something you want to repeat twice.
- Plant your feet flat, shins roughly vertical at the top of the movement.
- Drive through your heels to extend your hips until your body forms a straight line from shoulders to knees, with a full squeeze of the glutes at lockout and ribs pulled down rather than flared up, no lower back arching to make up the range.
- Lower under control until your hips are just short of the floor, then drive back up.
We tell clients to think about pushing the floor away with their heels rather than just “lifting the hips,” it changes how the movement feels almost immediately.
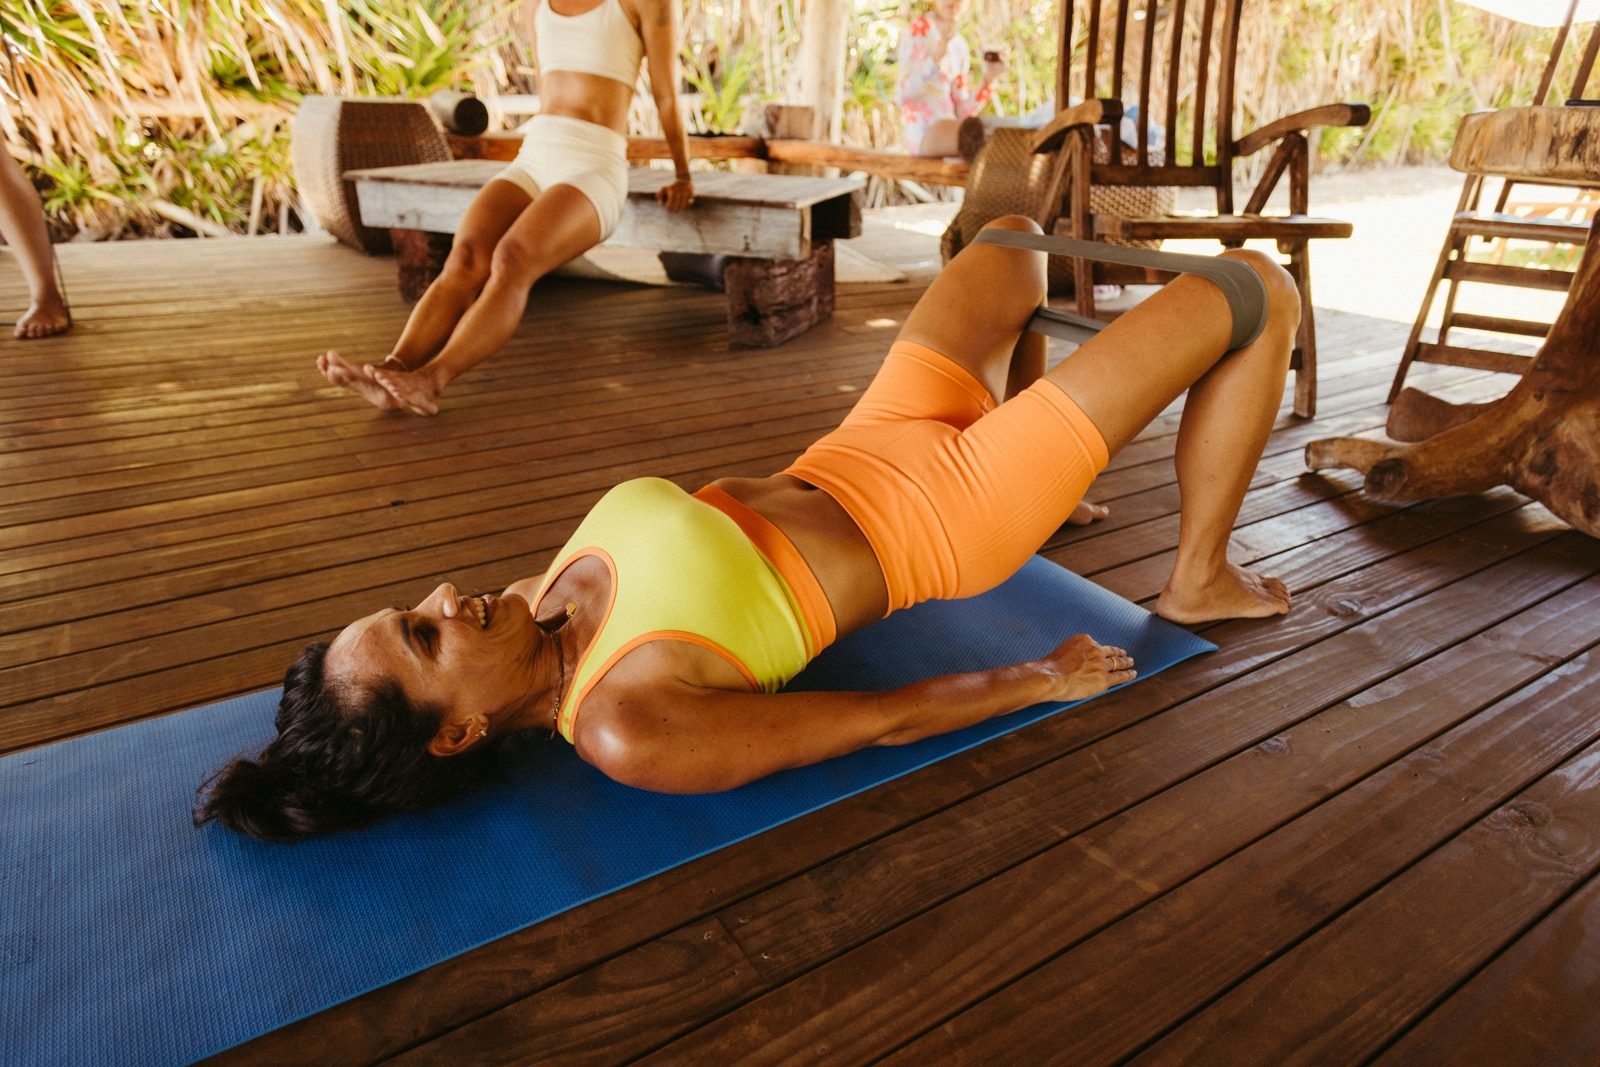
If you don’t have access to a barbell setup, a single-leg glute bridge, banded hip thrust, or dumbbell hip thrust all train the same pattern and work well as a starting point before you load a bar.
What’s the Difference Between a Hip Thrust and a Glute Bridge?
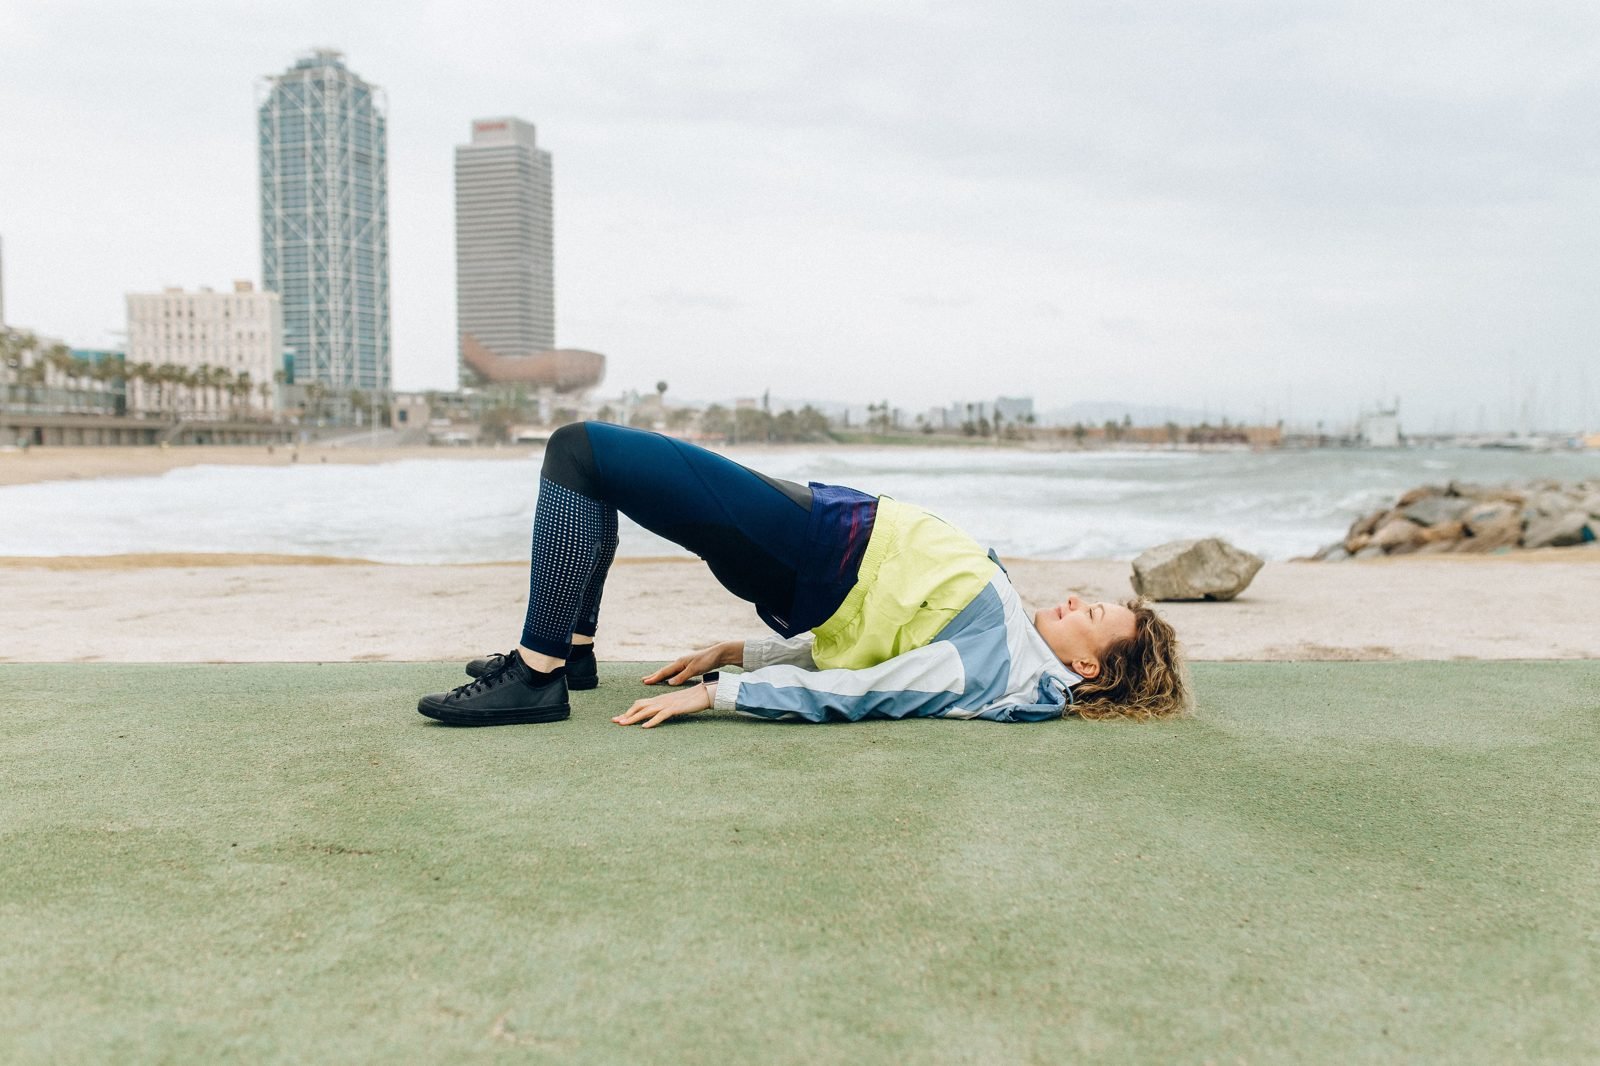
A glute bridge is performed with your upper back on the floor, which shortens the range of motion and caps how much load you can realistically move. A hip thrust uses a bench under the shoulder blades, which lets your hips travel through a longer range and lets you load far heavier. We use glute bridges as a regression for beginners or a warm-up activation drill, and hip thrusts as the main strength builder once someone can control the pattern.
How Do You Build a Full Session Around the Hip Thrust?
A hip thrust workout shouldn’t just be one exercise done for five sets. We build sessions that hit the glutes from a few angles, so the muscle gets worked at different lengths and different load demands, then round it out with accessory work that supports hip stability and core control. Here’s a session structure we actually program with clients:
| Exercise | Sets | Reps | Rest |
|---|---|---|---|
| Barbell Hip Thrust | 4 | 6-10 | 2-3 min |
| Bulgarian Split Squat | 3 | 8-12 per leg | 90 sec |
| Romanian Deadlift | 3 | 8-10 | 2 min |
| Cable Kickback or Banded Lateral Walk | 3 | 12-15 | 60 sec |
We usually put the hip thrust first while the nervous system is fresh, since it’s the exercise carrying the heaviest relative load. From there, the split squat and Romanian deadlift keep hitting the glutes and hamstrings through different ranges, and the finisher work brings in the glute medius, which matters more than people think for hip stability and knee tracking.
If you’re building out a broader weekly split, this is the same logic we apply across the board. We approach upper body isolation work the same way, for instance our preacher curl workout session follows a similar structure of a strict primary lift followed by supporting accessory movements, and the same principle carries into rotational core days too.
What Mistakes Do We See Clients Make on the Hip Thrust?
We see clients make the mistake of hyperextending the lower back to squeeze out the last few degrees of range instead of stopping at full hip extension. It looks like more range of motion, but it just shifts load off the glutes and onto the spine, and it’s one of the fastest ways to turn a good exercise into an irritated lower back. The fix is almost always the same, film yourself from the side once and you’ll see it immediately.
The other common error is bar placement too high on the stomach or too low toward the thighs, both of which create an uneven moment arm and make the lift feel harder or more awkward than it should. Get the bar right in the hip crease, use a pad, and the rest of the technique tends to click into place.
How Much Weight Should You Use, and How Often Should You Train It?
Start conservative. Most clients can handle more load on a hip thrust than they expect because the setup supports so much of the body weight, but that also means it’s easy to overshoot and lose form under a bar that’s too heavy. We usually start new clients with just their bodyweight or a light barbell to nail the top-end lockout before adding plates.
Once technique is solid, working in the 6-10 rep range for strength and 10-15 for hypertrophy works well for most people, and progressing load by small increments week to week beats jumping in big jumps that compromise form. Training the hip thrust pattern two to three times a week, spaced with at least a day of recovery between sessions, gives the glutes enough stimulus without overloading recovery capacity, especially if you’re also squatting or deadlifting elsewhere in your week.
We also like pairing lower body strength days with upper body mobility work so nothing gets neglected. An around the world workout for shoulder mobility is a good example of something we’ll slot in on an off day to keep the whole program balanced rather than just chasing one muscle group.
Should You Build a Hip Thrust Program on Your Own or Get Help?
You can absolutely make progress with the structure above, but the exercise is technical enough that small setup errors compound over weeks without anyone noticing. Bar placement, foot position, and how much you load week to week all matter more than people assume, and getting them wrong quietly caps your progress or leads to a nagging back issue. If you want a program built specifically for your goals, injury history, and equipment access, that’s exactly what our 1-on-1 personal training is for. We build it around you rather than handing you a generic plan.
Frequently Asked Questions
What muscles does the hip thrust work?
The hip thrust primarily targets the gluteus maximus, with secondary involvement from the hamstrings, adductors, and core muscles that stabilize the trunk during the movement. Because the load stays high at full hip extension, it’s one of the most direct ways to train the glutes through their strongest and shortest range of motion.
How much weight should you hip thrust?
There’s no fixed number, it depends on your training history and bodyweight. Start with just the bar or bodyweight to master lockout technique, then add load gradually while keeping full hip extension without lower back arching. Many trained lifters eventually move more weight on a hip thrust than they do on a squat, since the setup supports more of the load.
What is the difference between a hip thrust and a glute bridge?
A glute bridge is performed with your upper back flat on the floor, giving a shorter range of motion and limiting how much weight you can safely load. A hip thrust uses a bench to support the upper back, allowing a longer range and much heavier loading. We treat the bridge as a beginner regression and the thrust as the main strength-building version.
How often should you do hip thrusts?
Two to three sessions a week works well for most people, with at least one recovery day between sessions since the glutes are also worked indirectly during squats and deadlifts. Beginners can start with two sessions to build technique and tolerance before adding volume, while more advanced lifters can handle three if recovery and nutrition support it.
Can you do a hip thrust workout at home without a barbell?
Yes, bodyweight glute bridges, single-leg hip thrusts, and banded hip thrusts all train the same hip extension pattern and can build real strength without equipment. They won’t let you load as heavily as a barbell version, but they’re a legitimate way to build the movement pattern and glute strength before progressing to a gym setup.