
A biceps workout chart step by step is a structured plan that lists each bicep exercise in order, along with sets, reps, form cues, and how to progress week to week, so you can build arm strength without guessing what to do next. It works because it removes decision fatigue. You just show up, follow the chart, and execute. Below is a beginner-friendly chart plus a full walkthrough of how to perform every move correctly, whether you’re training at a gym or at home.
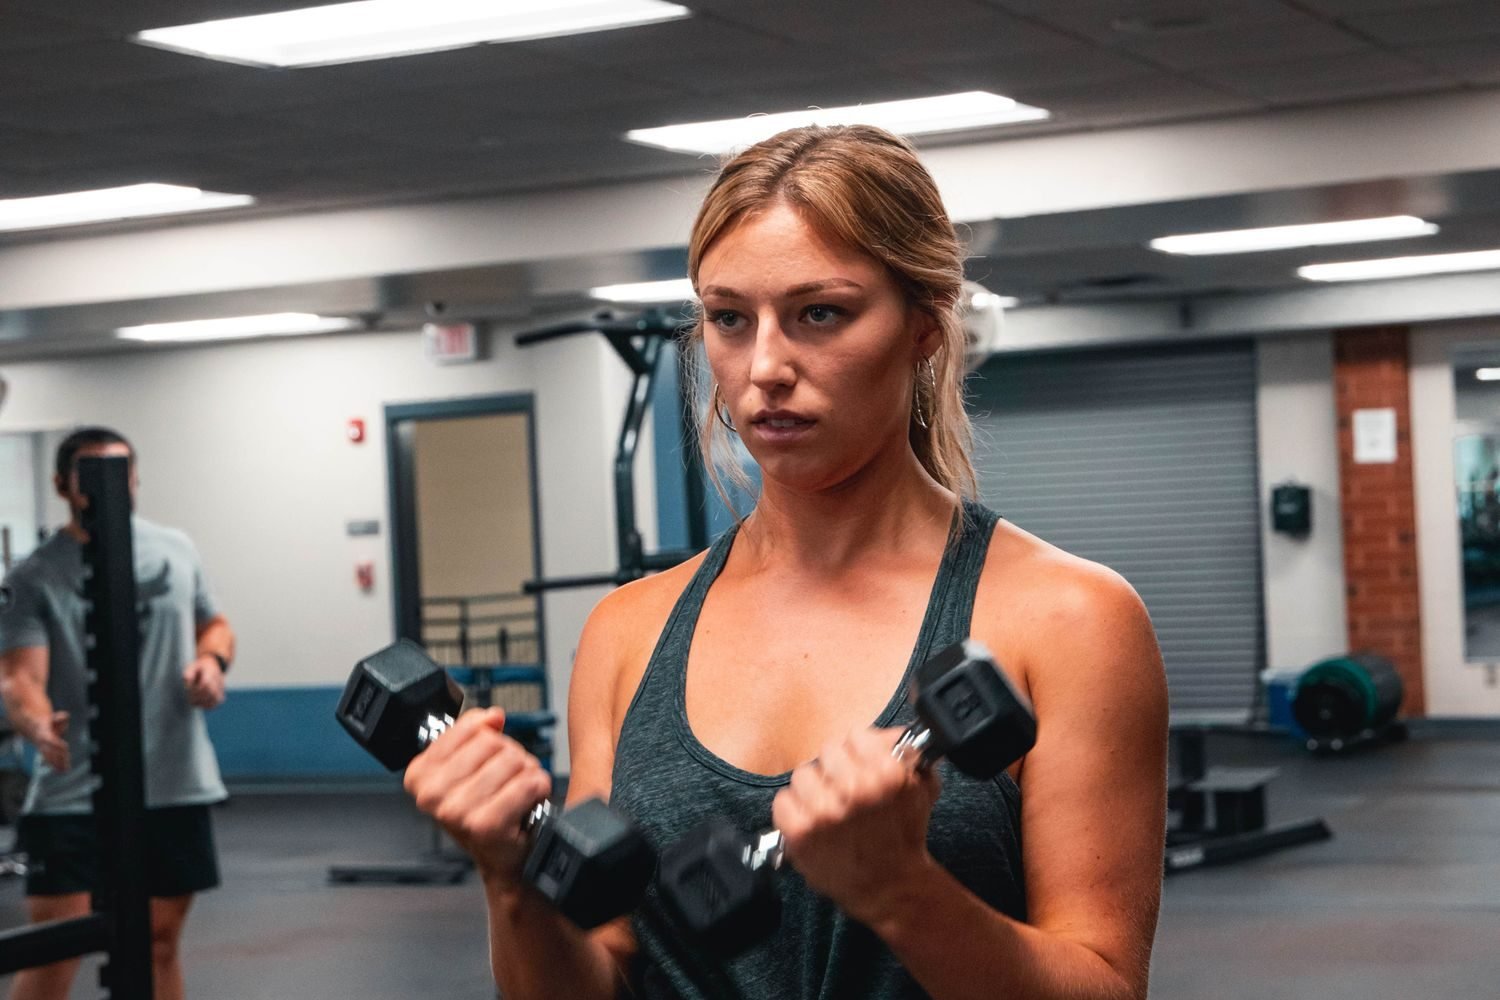
What Does a Biceps Workout Chart Step by Step Actually Include?
A proper chart has four columns that matter: the exercise itself, sets and reps, a form cue you can actually remember mid-set, and a progression rule so you know when to add weight or reps. Most beginners skip the progression part and stay stuck at the same dumbbell weight for months. A good chart fixes that by building progression into the plan from day one, not as an afterthought.
If you want a broader look at how biceps training fits into a full arm routine, our bicep workouts guide covers that ground. This article is narrower on purpose. It’s built to be followed exercise by exercise, set by set.
How Do You Warm Up Before a Biceps Workout?
Spend 5 minutes on this before you touch a weight:
- Arm circles, 20 seconds forward and 20 seconds backward.
- Wrist rotations, 15 each direction, since your grip takes load on every curl.
- Two light warm-up sets of dumbbell curls using a weight you could lift for 25 reps, but stop at 10.
Cold biceps and elbows are a common reason beginners feel a pinch in the elbow joint on their first heavy set. This warm-up takes care of that.
What Is the Step-by-Step Biceps Workout Chart for Beginners?
Here’s the full chart. Do it as a standalone session or tag it onto the end of a pull day.

| Exercise | Sets | Reps | Form Cue | Progression |
|---|---|---|---|---|
| Dumbbell Bicep Curl | 3 | 10-12 | Elbows pinned to your sides, no swinging | Add 1kg per side once you hit 12 reps on all 3 sets |
| Hammer Curl | 3 | 10-12 | Thumbs face forward, wrist stays neutral | Add 1-2 reps per set weekly, then add weight |
| Concentration Curl | 3 | 10 per arm | Elbow braced against inner thigh, slow tempo | Increase time under tension before adding load |
| Incline Dumbbell Curl | 2 | 10-12 | Let the arm hang fully behind the torso for a deep stretch | Add a 3rd set once form stays clean for 2 sets |
| Band or Cable Curl | 2 | 12-15 | Squeeze at the top for a full second | Move to a thicker band or heavier cable stack |
Step 1: Dumbbell Bicep Curl
- Stand tall, feet hip-width apart, a dumbbell in each hand with arms fully extended.
- Keep your elbows locked next to your ribs for the entire set.
- Curl both dumbbells up while rotating your palms to face your shoulders.
- Squeeze at the top for a beat, then lower with control over 2-3 seconds.
This is the exercise most people picture when they think biceps, and it’s also the one where form breaks down first. If you’re training at a gym and want a version of this chart built around gym equipment specifically, check our biceps workout for gym breakdown.
Step 2: Hammer Curl
- Hold the dumbbells with palms facing your body, like you’re about to hammer a nail.
- Curl straight up without rotating your wrists at any point.
- Pause at the top, then lower slowly.
- Keep your shoulders still, don’t let them roll forward to help the lift.
Hammer curls hit the brachialis, the muscle that sits under your bicep and pushes it up when it’s developed. Skip this one and your arms plateau in width even if your curl numbers go up.
Step 3: Concentration Curl
- Sit on a bench, lean forward slightly, and brace your working elbow against the inside of your thigh.
- Let the dumbbell hang straight down, arm fully extended.
- Curl up slowly, focusing on the squeeze rather than the weight.
- Lower for a full 3-second count before starting the next rep.
This is the exercise we use with clients who complain their biceps aren’t growing despite curling heavy dumbbells elsewhere in their program. Once you isolate the arm and remove momentum, the muscle actually does the work instead of the shoulders and back compensating for it.
Step 4: Incline Dumbbell Curl
- Set a bench to a 45-60 degree incline and sit back with your arms hanging straight down.
- Let the weight stretch your arm fully at the bottom, this is where the exercise earns its place in the chart.
- Curl up without letting your elbows drift forward.
- Lower back to a full stretch each rep, don’t cut the range short.
Step 5: Band or Cable Curl
- Stand on the middle of a resistance band with feet shoulder-width apart, or set a cable to the lowest pulley.
- Keep elbows fixed at your sides, same as the dumbbell curl.
- Curl up and hold the squeeze for one full second at the top.
- Control the release, don’t let the band or cable snap your arm back down.
Prefer training with dumbbells only? Our dumbbell bicep workout guide swaps this last exercise for a dumbbell-only finisher you can do anywhere.
How Should You Structure Your Biceps Training Week?
Twice a week is enough for a beginner. Biceps are a small muscle group and they get indirect work every time you do pulling movements like rows or pull-ups. Two dedicated sessions, 48 hours apart, gives the muscle time to recover while still building the habit of showing up and following the chart consistently.
Don’t train biceps on back-to-back days early on. Sore, fatigued biceps mean worse form on the next session, and worse form means slower progress, not faster.
What Mistakes Ruin a Beginner’s Biceps Workout?
- Swinging the weight. If your torso is rocking, the weight is too heavy. Drop it and rebuild from strict form.
- Half reps. Stopping short at the top or bottom cuts the exercise’s effectiveness roughly in half.
- Chasing weight over control. Adding load before you’ve earned it through the progression rule in the chart just teaches bad movement patterns.
- Ignoring grip fatigue. If your forearms give out before your biceps do, switch grip width or try lifting straps occasionally, not every set.
We see this pattern constantly with new clients: someone curls a weight that’s clearly too heavy, their elbows fly forward, and they wonder why their biceps aren’t sore the next day. The shoulders and back did most of the work. Fixing the elbow position alone usually solves it within a session or two.
How Do You Progress Once the Chart Feels Easy?
Once every exercise in the chart feels manageable at the top rep range for two sessions in a row, it’s time to move forward. That could mean adding weight, adding a fourth set to your main lift, or slowing your tempo down to increase time under tension. Pick one variable at a time. Changing weight, reps, and tempo all together makes it impossible to tell what’s actually driving your progress.
This is also the point where a generic chart starts to show its limits. A chart can’t see your shoulder mobility, your recovery capacity, or the fact that your left arm is noticeably weaker than your right. That’s the gap coaching fills.
FAQs
What is a biceps workout chart step by step?
It’s a structured plan listing bicep exercises in order, with sets, reps, form cues, and progression rules attached to each one. Instead of guessing what to do at the gym, you follow a fixed sequence, know exactly how many reps to hit, and know when to increase the weight or challenge.
How do you follow a biceps workout chart step by step?
Warm up first, then move through each exercise in the listed order, completing all sets before moving to the next. Follow the form cue on every rep, track your reps each session, and apply the progression rule once you consistently hit the top of your rep range with clean form.
What are the benefits of following a biceps workout chart step by step?
You remove guesswork, which keeps sessions consistent and short. A chart also builds progression into the plan automatically, so you’re not stuck lifting the same weight for months. For beginners specifically, it prevents the common mistake of jumping between random exercises with no structure or measurable progress.
How many days a week should beginners train biceps?
Twice a week, with at least 48 hours between sessions, is enough for most beginners. Biceps are a small muscle group that also gets worked during back and pulling exercises, so more frequent direct training usually adds fatigue without adding extra growth, especially early on.
Do you need a gym to follow this biceps workout chart?
No. Every exercise on this chart works with a pair of dumbbells or a resistance band, so you can run the full session at home. If you do have gym access, cable attachments and an incline bench make a couple of the exercises slightly easier to set up correctly.
A chart gets you started, but it can’t adjust when your form breaks down, your progress stalls, or your weaker arm needs extra attention. That’s exactly the gap a coach closes. If you want a program built around your body and updated as you progress, take a look at FitStrot’s 1-on-1 personal training.